

Personalized gifts are the best gifts! Taking the time to actually make something for someone else is so meaningful, but going the extra mile to make something specifically for that person is even better. This is another DIY craft where I was able to utilize some leftover materials from past projects - namely my Pebeo Vitrea Paints from my Decorative Jar project. (Pebeo Vitrea Paints are glass paints that are glossy and transparent when used on glass.) I have used Sharpies to decorate mugs before, but over the course of a few washings the sharpie inevitably washes off… which is why Glass Paints should be your new best friend!
Materials:
White or Solid Colored Mug
Glass Paint (Such as Pebero Vitrea Paints)
Fine Tipped Paintbrush
Letter Stencil(s)
A Working Oven
Instructions:
Start by sticking a letter stencil onto your mug. I used an initial, but you can also spell a word if desired! Take your paintbrush, and begin painting dots all around your stencil.

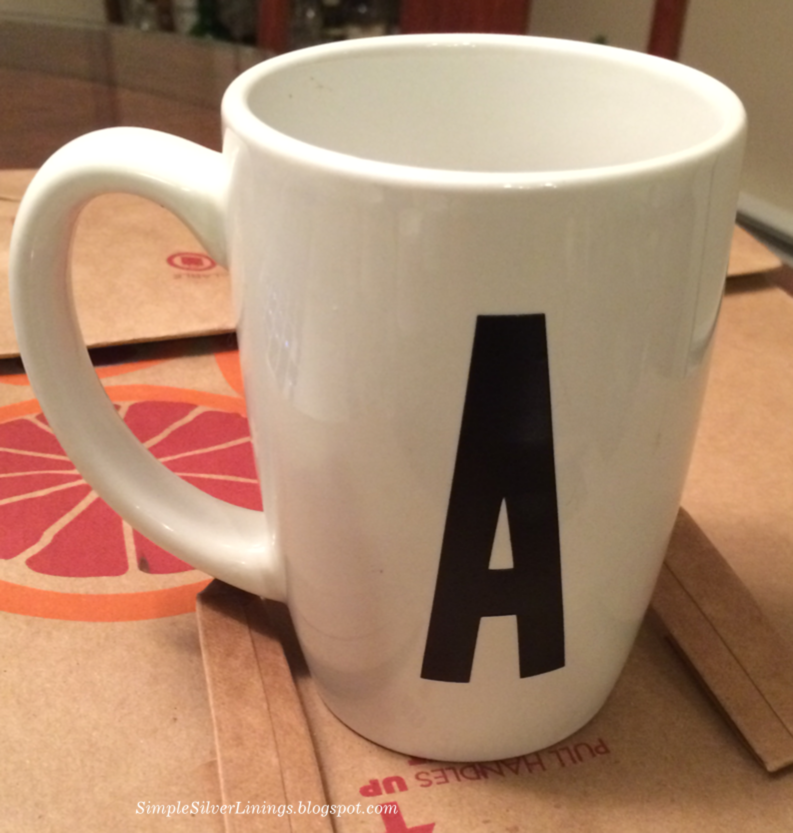
Carefully cluster your dots closer together near the center of the stencil, and work outwards making your dots farther and farther apart. This creates a lovely illusion of an exploding initial…!

What a wonderful gift to surprise someone with - their very own Monogrammed Mug! You can also get creative with the mug and paint colors. I strongly restrained myself when painting, as I was VERY close to using several different colors when painting around my "A". However, if I have learned anything from crafting, it is that less is definitely more… If anyone tries a multi-color Initial Mug, please let me know!
NOTE: When using glass paints, don't forget to "fire" your painted mug in the oven at at least 350 degrees for about 40 minutes - this keeps your new masterpiece dishwasher safe! I have seen similar mugs made with Sharpies, but please be aware your Sharpie marks will NOT last when your mug is washed. For permanent decor, use glass paint!!


No comments:
Post a Comment