Showing posts with label Christmas. Show all posts

Friday, November 14, 2014

5 DIY Christmas Gifts I Wish I Had Time For


I love Christmas.  Then again, who the heck doesn't?  Every year I go a little nuts with Christmas Gift Idea's…  I have a tendency to go a tad crazy on Amazon ordering craft supplies for gifts, only to realize that (for example) I don't actually have time to make personalized, embossed stationary for every single friend and family member in my life.  Now I have a box of 300 matching ivory cards and envelopes sitting in my closet, just waiting to be turned into stationary…  ::sigh::.  Someday!  :)

There are so many amazing DIY gift ideas floating around the internet throughout the holidays, I had to do a list of some of my favorites.  In a perfect world, I would have the time (and the energy) to make each of these wonderful gifts for all of my favorite people… but as it happens, I just need to hope that some of you can make them for me!  :)


1.  Cranberry Infused Vodka from Put Together Life

What a fabulous adult holiday gift.  Perfect to bring with you as a host/hostess gift to any Christmas Party!


2.  Homemade Body Butter from She Wears Many Hats


Who knew you can make your own lotion!?  Because this recipe has no preservatives, you will need to use up your body butter within a week or so…  but with something this scrumptious, that shouldn't be a problem!  


3.  Glitter Candles from Creative Party Ideas by Cheryl 


Give the gift of sparkle and shine this holiday season!  Who wouldn't want some festive glitter candles to brighten their holiday mood?


4.  Homemade Lemon Soap from A Pumpkin and a Princess


Homemade soap is actually super easy, and it's such a thoughtful way to give a personalized gift.  When it's freezing cold outside, this lemon soap will remind you of warm summer days!


5.  Popcorn with Rosemary Infused Oil from Giada De Laurentis at the Food Network


Infusing your own oil is actually super easy, and it makes a perfect gift when you pair it with some popcorn!  Using decorative popcorn in clear bottles looks especially nice.  :)  Include a bottle of wine and a movie with your popcorn for an extra special gift!  

Friday, December 27, 2013

DIY String Christmas Trees


First off, MERRY CHRISTMAS!  I hope everyone has had a lovely holiday so far.  :)  Now, down to the crafts - these were pretty fun to make, and I think they turned out nice!  As you can see, the glue is still visible on the dark red tree.  If I had known, I would have made more light-colored ones… obviously!  I used cotton yarn for the green and red tree, and white embroidery thread for the white tree.  I like how the white embroidery tree turned out the best - it is delicate, and you can't see the glue.  (It would look especially nice with red and green stars as opposed to the silver stars.)  Next year!

MATERIALS
Yarn of string
Glue (I used homemade glue - 1 cup flour, 1/3 cup sugar, 1 and 1/2 cup water, 1 tsp white vinegar.)  I hear you can also use watered down mod lodge or Elmer's glue.  
Paper
Tape
Plastic wrap
Confetti (for decoration, if desired)

INSTRUCTIONS
Create a cone out of your paper and tape - if you are creating multiple trees, make different sizes of cones.  Cover the paper cones in plastic wrap.  Take your string or yarn, and dip a good section of it (maybe 1 foot) into the glue.  Use your fingers to wipe off any excess glue, and start wrapping the string around the plastic-covered cone.  How closely you wrap your string around the cone will affect how dense your trees are.  

You will need to wrap your glue covered string around the cone several times - you can go up and down as much as you want, until you feel like the cone is sufficiently covered.  Keep dipping the string in the glue (and wiping off the excess) as you go.  When you are finished, let the string covered cone dry overnight.  In the morning, gently pull the hardened string off of the cone - this might take some maneuvering, but overall it should be pretty easy.  Glue the confetti onto the tree.  Voila!  

INSPIRED BY:  
(This blog is in spanish - you will need Google Translate for this one!)


Sunday, December 8, 2013

Ornament Decorating Party

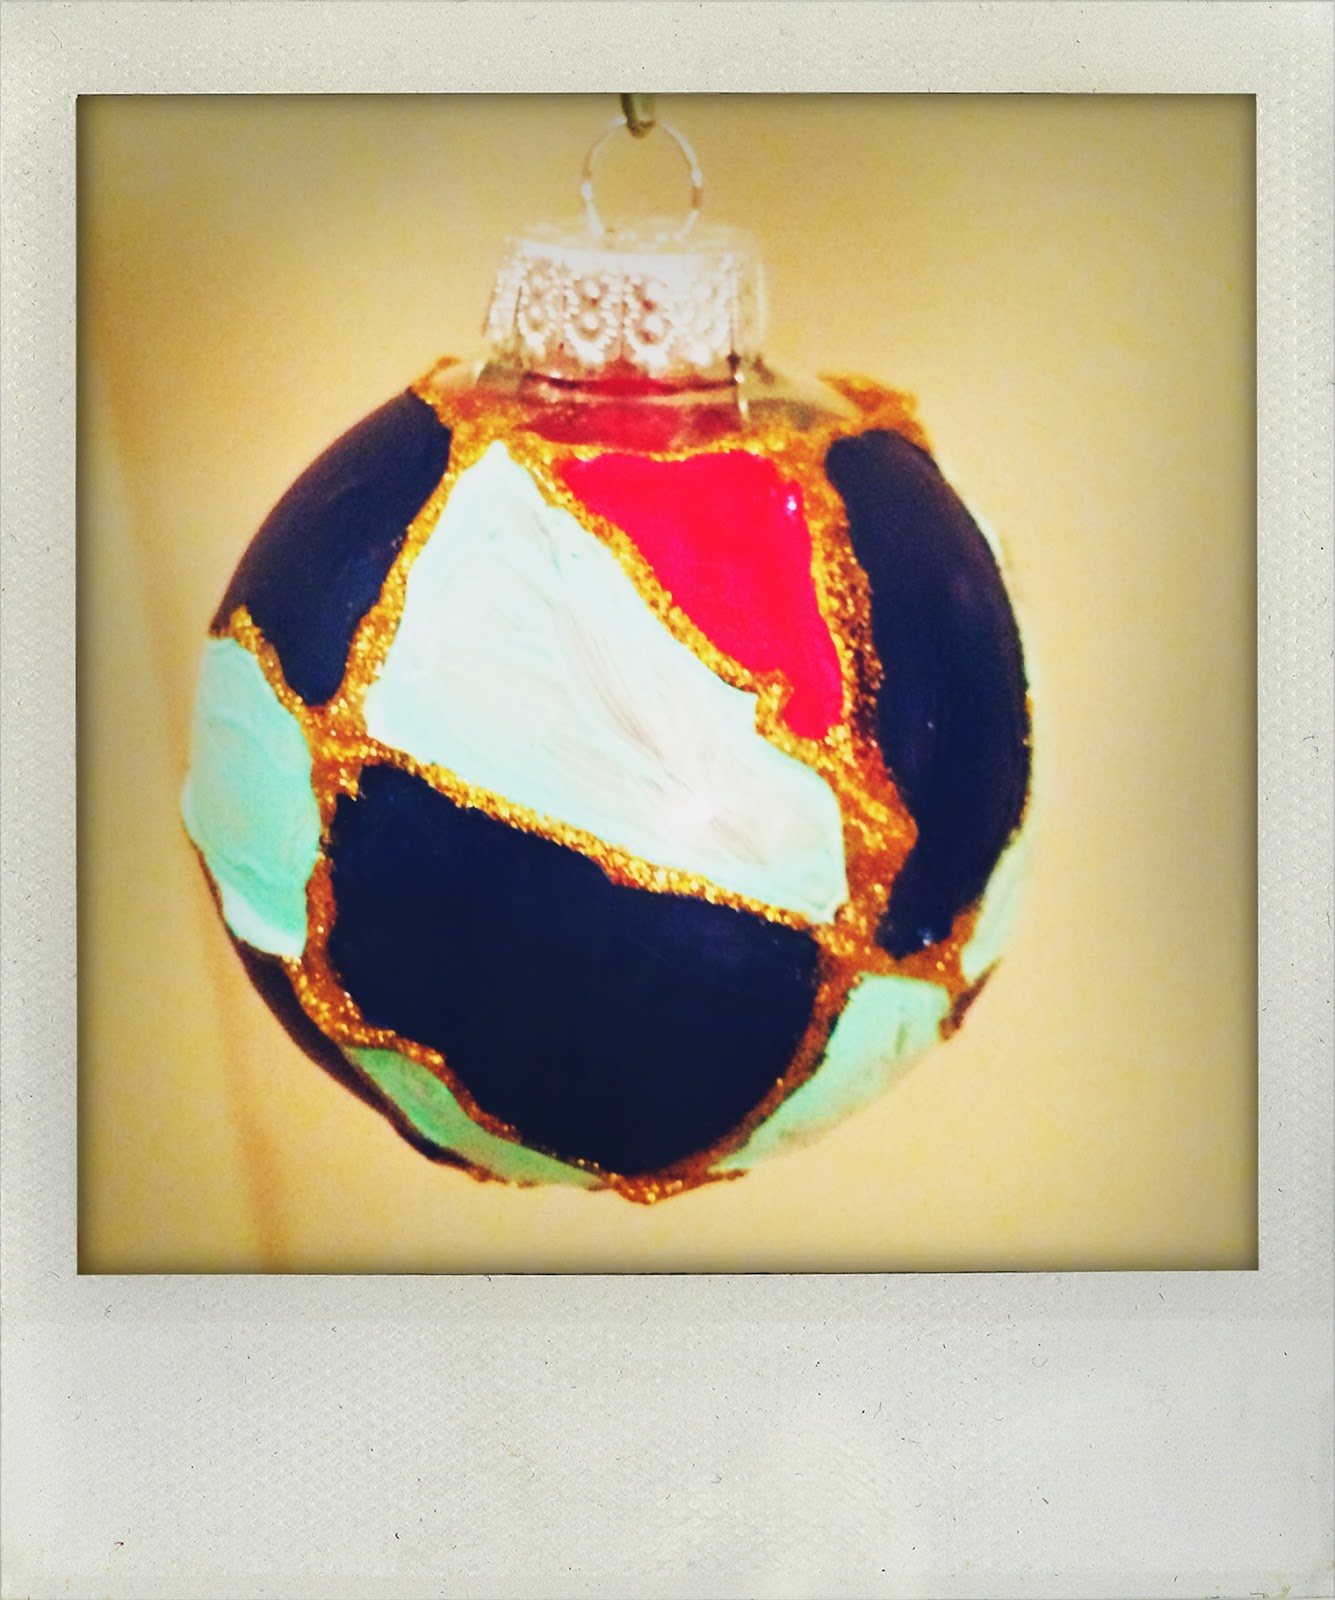
Some friends and I hosted an ornament decorating party this past weekend, and it was AMAZING.  Besides the fact that having most of my crafting supplies out and on one table was [very] disturbing, it was great to get together and be creative with a group of lovely ladies.  We came up with some really unique ways to decorate the plain glass ball ornaments, and of course I had to share some of the highlights.  I got the glass ball ornaments from Michaels when they were 50% off, and I think you can use almost anything you can think of to decorate these guys.  The sky is literally the limit!
Glass paint - stained glass effect

Seed beads and mod podge


Colorful feathers inside

Glue on ribbon, tissue paper or confetti - the one on the lower right used confetti with mesh fabric. 


Stickers and confetti

Squirt floor polish inside the ornament to coat completely, shake out the excess, then add a good amount of loose glitter.  Tilt the ornament so the glitter coats the entire ornament.  Voila!  Glitter ornaments!


Crochet netting around the ornament, or stick ribbon inside it!


Tissue paper and paint, stained glass paint effect and seed beads


Puff balls!

Christmas napkins and mod podge

cupcake liner and seed beads (with mod podge)

Paint - stained glass effect.

Mod podge and lace

Confetti and glitter star accent

Feathers and matching paint

Fake snow (on the inside), ribbon and red ball accents

NOTE:  Photo's have been processed with the Shake It App for the iPhone.


Tuesday, December 3, 2013

Sequin Snowflake Ornaments


I had so much fun making these!  First off - do not be deceived.  They are time consuming.  You will also need LOTS of pins and LOTS of sequins.  I personally was on a Damages marathon at the time, so this was no problem.  :). Finding pins with a head that was larger than the sequin hole was surprisingly difficult - make sure you use pins large enough !  I also included the date by using a number hole punch.  (The Martha Stewart one was more expensive online than I thought - use your 40% off coupon at Michaels if you can!)  Otherwise, I plan to give these as gifts, but might have to make one for myself!

Materials:
Foam ball
Pins (with heads bigger than sequin holes)
Sequins
Ribbon 
Snowflake punch 
Number punch 

Instructions:
Start by pinning a group of sequins to the foam ball in a circle, leaving a small space in the middle.  (You'll see why later). Continue to pin sequins to the ball in a circular formation around your last sequins (your circles will get bigger and bigger!) until the ball is covered.  Cut a snip of ribbon to hang the ball from, and pin the ribbon loop into the small hole you left at the beginning.  Nice it's time to punch your snowflakes!  Carefully pin your paper snowflake punches to the ball (there should be some small random holes between the sequins that you can use).  If desired, also punch some numbers, and pin the date into the ball as well.  Voila!  Merry disco-ball Christmas!


Inspired By:
An item seen in the Teensy Turtle Etsy Shop.